Cropping images in Napari
If you haven’t installed Napari yet, please do so before proceeding with this tutorial. To practice this tutorial, install the following package(s) in your activated Napari conda environment:
mamba install -y napari-crop
Cropping images in Napari
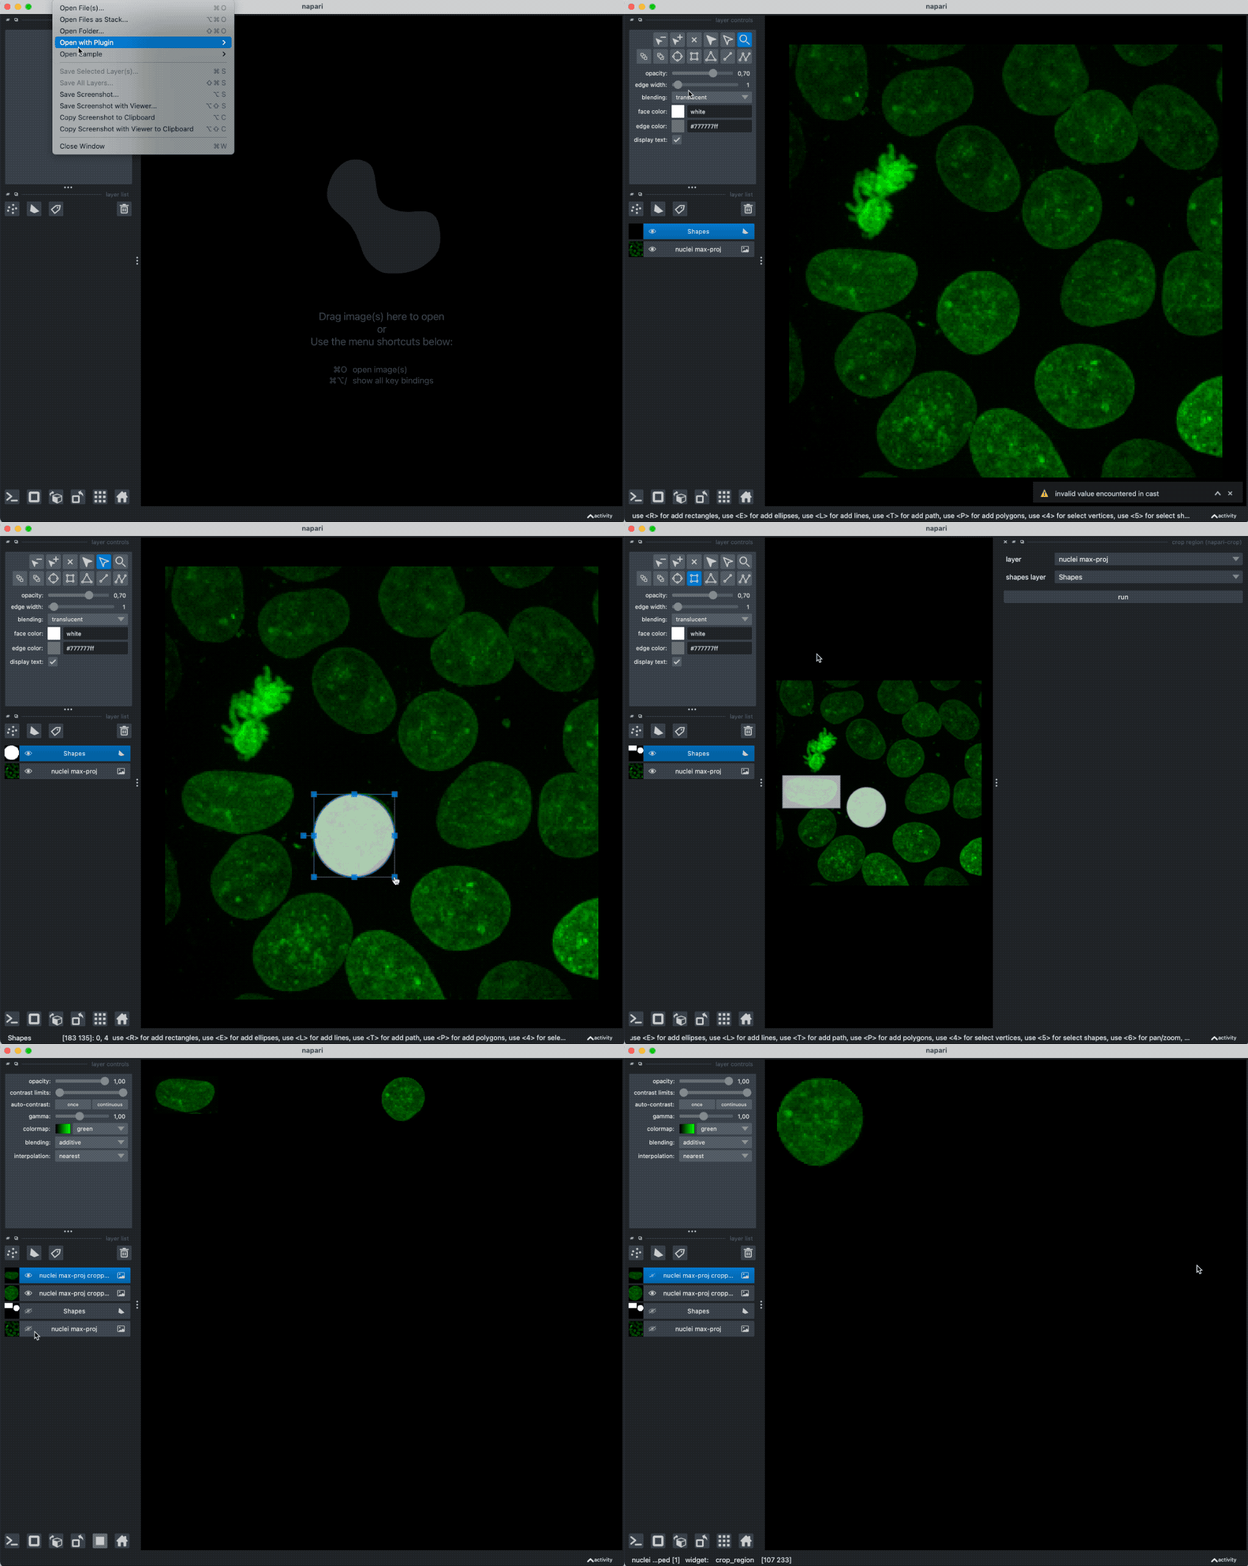
We can crop images in 2D using the Napari Crop pluginꜛ. To do so, create a new shape layer and draw a rectangle or any other closed shape around the desired region of interest. Then, select crop region from the Plugins menu to open the crop widgets. Specify the according image and shape layer and hit “run”. The cropped image will be displayed added as new layer in the layer list:
Exercise
Reproduce the cropping shown in the animation above. I.e., load the “Cells (3D+2Ch)” sample image (or any other sample image of your choice), project the nuclei layer to 2D, and select some regions of interest, crop them, and save the cropped layers as new TIFF file.
