Napari installation guide
In this tutorial, we will install Napariꜛ and all necessary Python packages on your computer. We will use conda to create a new Python environment and install all necessary packages. Conda is a package manager that allows you to install and manage multiple Python environments on your computer. This is very useful if you want to work with different versions of Python or different versions of Python packages.
1. Install Conda
You have conda/miniforge already installed and it is working? Perfect! You can skip this step and proceed with Step 2.
- Visit conda-forge.orgꜛ and download the latest miniforge installer for your operating system. Execute the installer and follow the instructions.
![]() Miniconda installation dialog under macOS. The Miniforge installer looks similar.
Miniconda installation dialog under macOS. The Miniforge installer looks similar.
Info: Windows-users may receive an error message like conda is not recognized as an internal or external command while trying to use conda in the later steps of this installation guide. In such a case, please perform the steps described in this this blog post. You can find solutions for other common conda related errors on Windows there as well.
2. Download the course material
- Please, download or clone this GitHub repositoryꜛ. If you are not familiar with GitHub: You can download the repository as a .zip file by clicking on the green Code button and then on Download ZIP.
- Unzip the downloaded file and move the folder to a location of your choice. We will refer to this location as the course folder.
- Please, also download the data from this Google Drive folderꜛ and merge it with the course folder.
3. Create the Python environment
- Open a new terminal (macOS/Linux) or PowerShell (Windows).
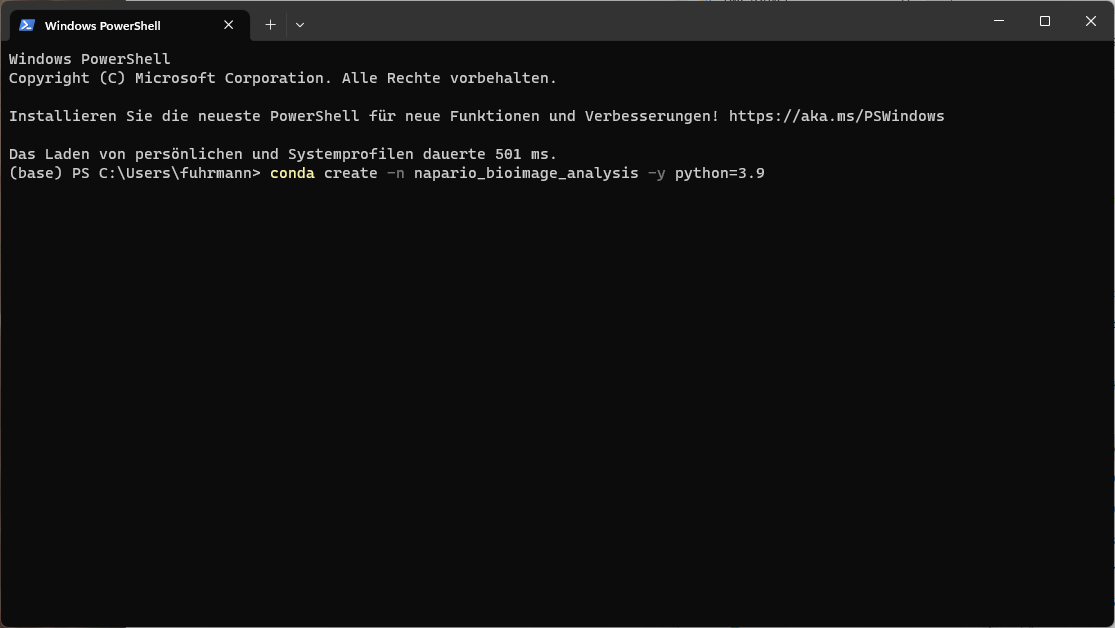
- Create a new Python environment named napari by executing the following command:
mamba create -n napari -y python=3.9This command creates a new Python environment and installs both Python version 3.9. When this is done, activate the environment by executing the following command:
mamba activate napari - Install Napari depending on your operating system:
- PC-users (Windows/Linux) please execute the following command:
pip install napari[all] - Mac-users please execute the following command:
mamba install -y napari
- PC-users (Windows/Linux) please execute the following command:
4. Starting Napari
After the successful installation and activation of the environment, you can start Napari by executing the following command in the terminal:
napari
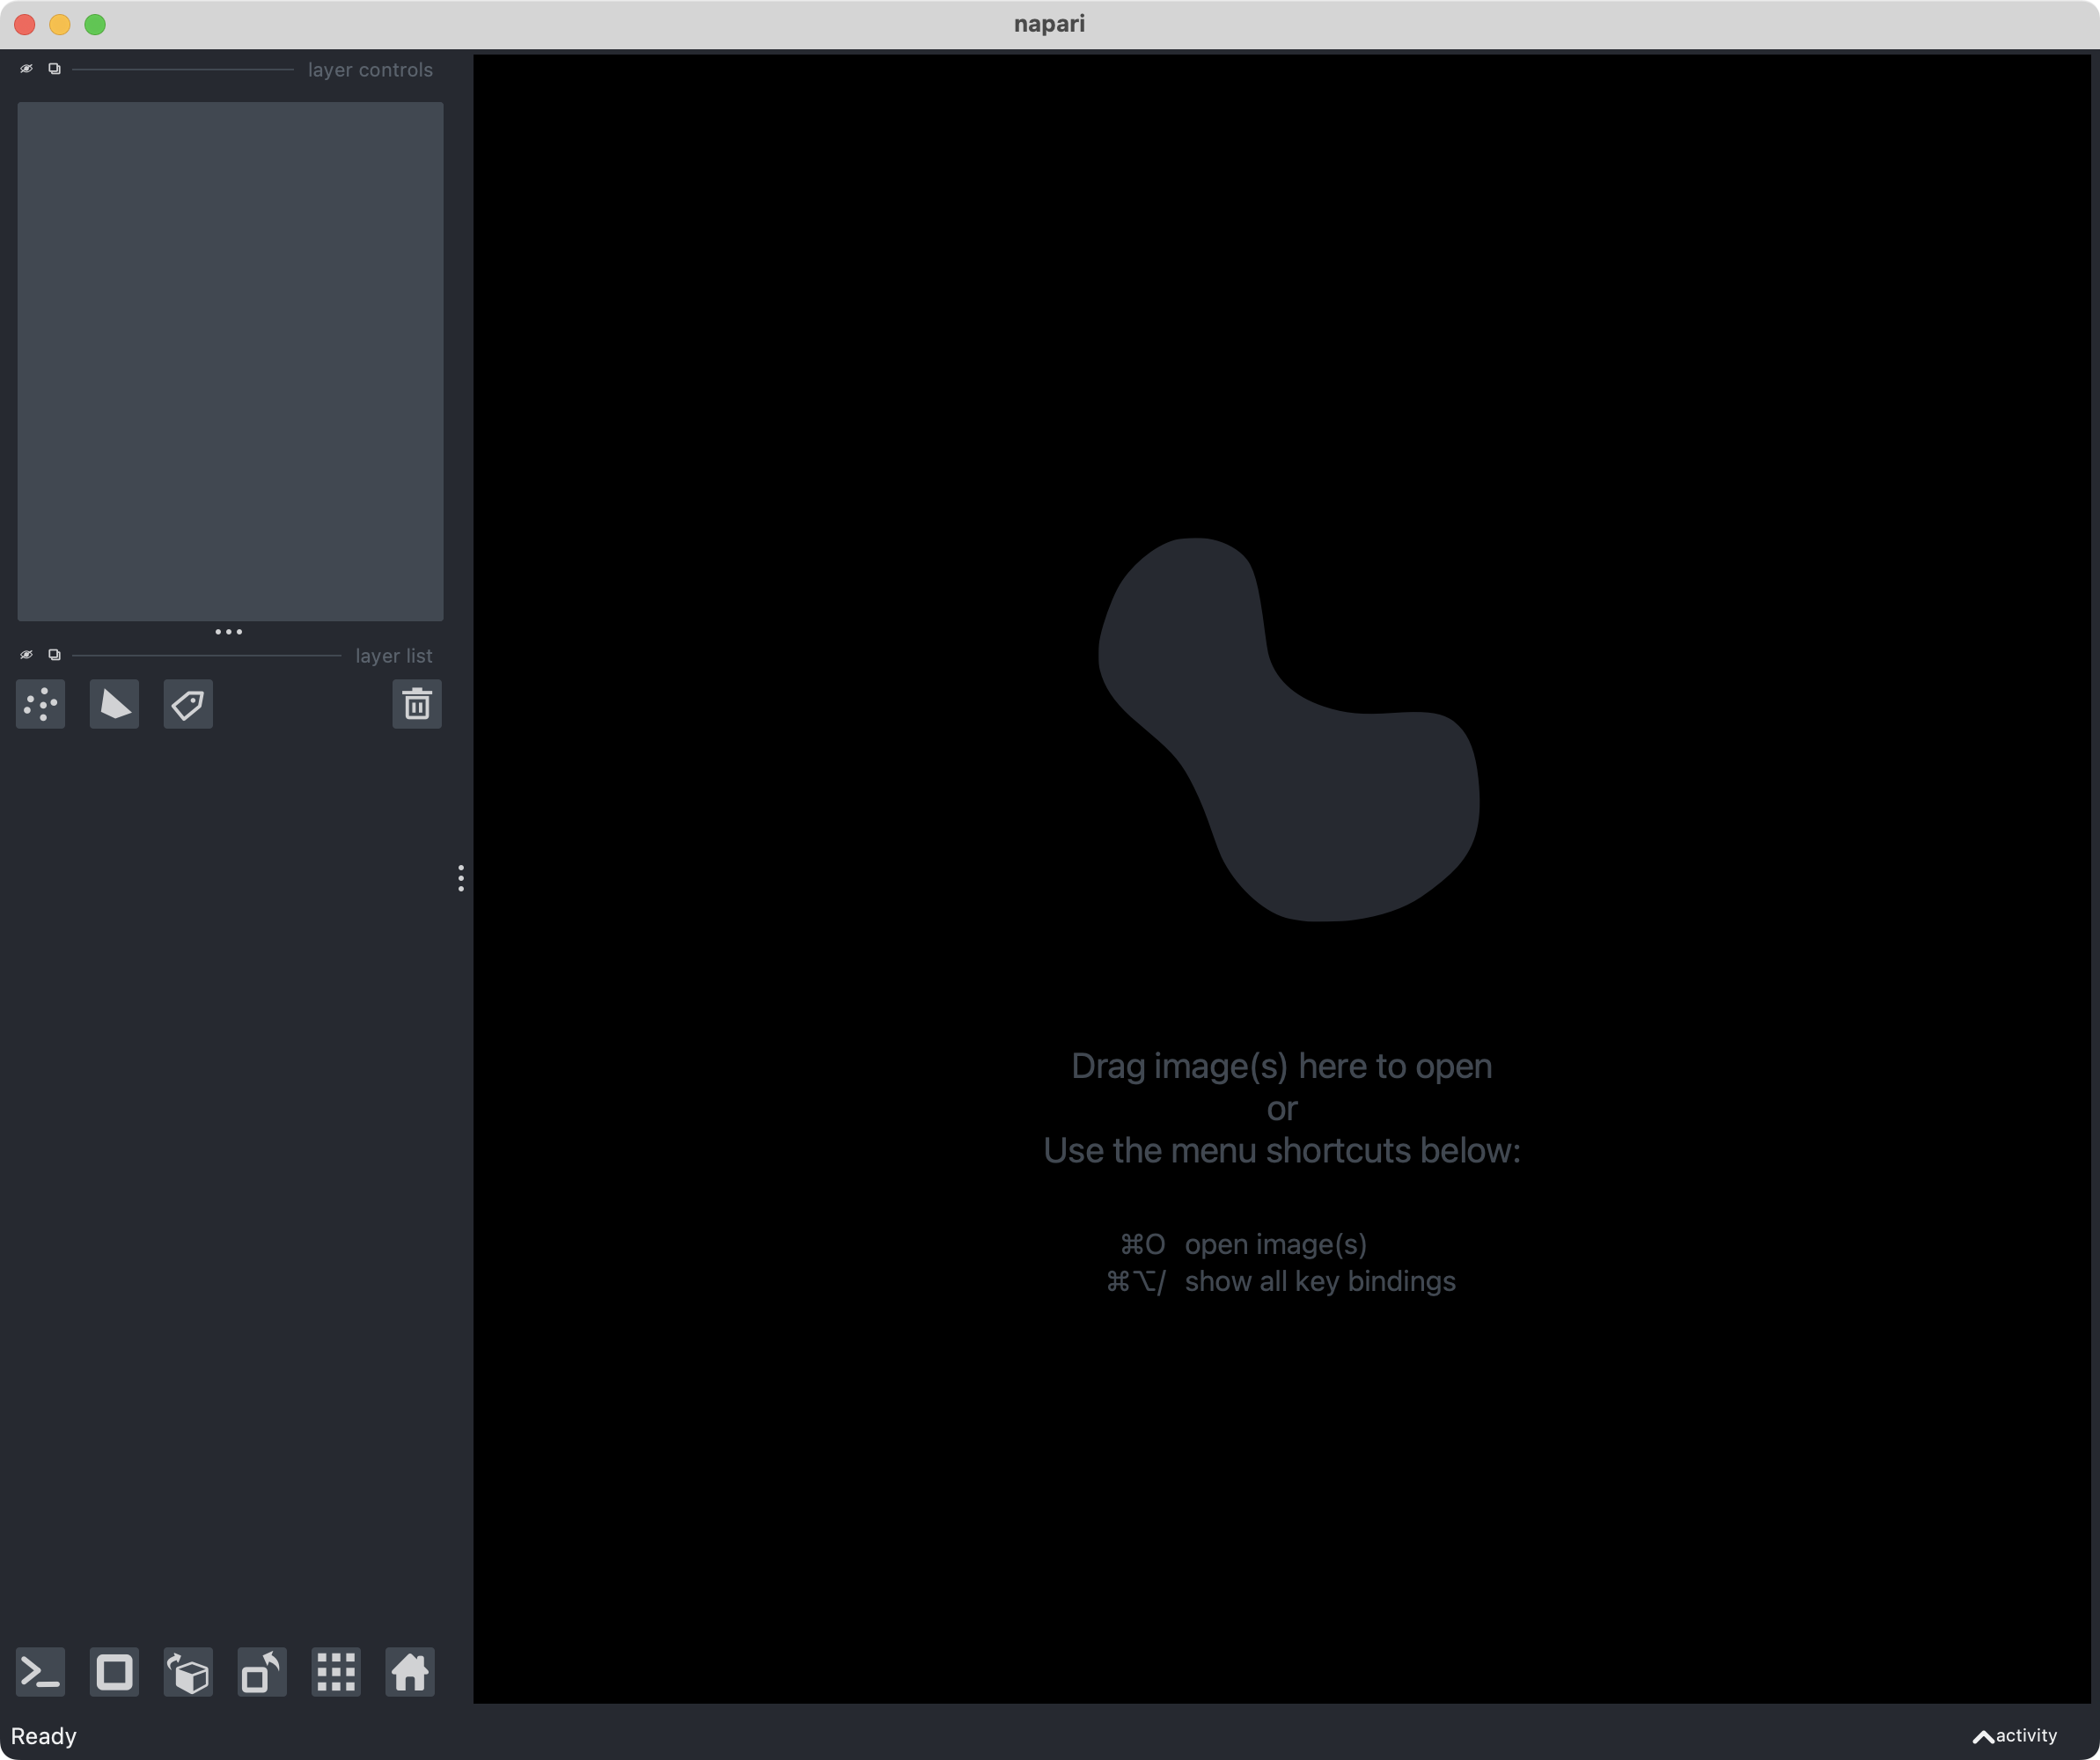
After executing the last command, Napari will open. If you close Napari and want to start it again, simply re-execute the last command, you don’t need to activate the environment again.
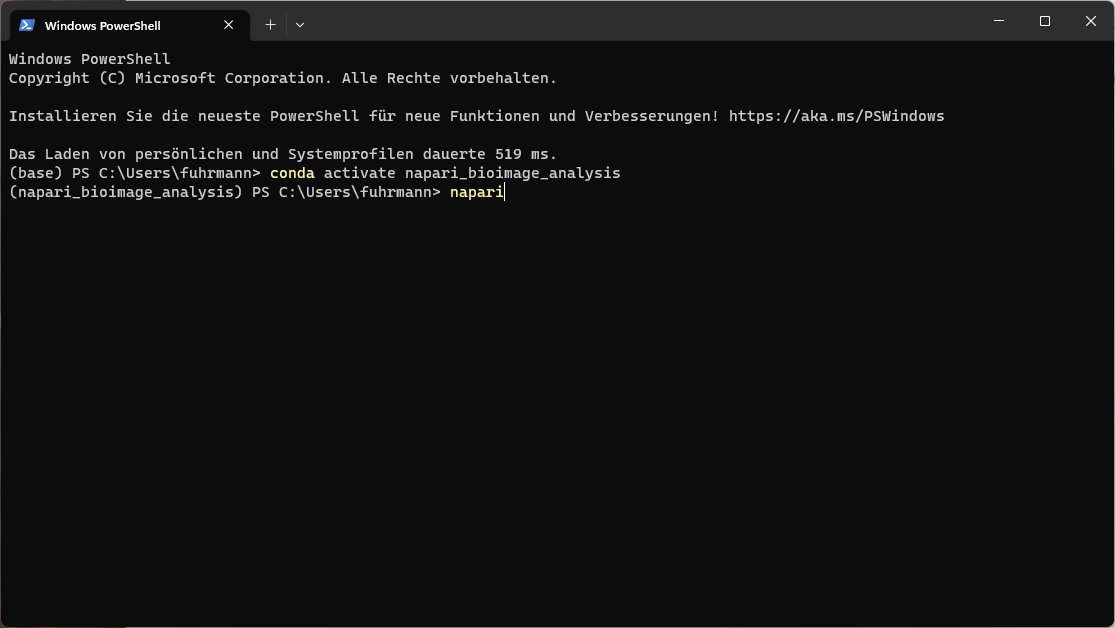 Starting Napari in the Windows PowerShell.
5. Install all required Python packages (optional)
This step is optional. I have listed the required packages for each tutorial separately at the beginning of each tutorial and added the corresponding commands. However, you can also install all required packages at once by executing the following command in the terminal. If you wish to do so, depending on your system, please execute one of the following commands.
Mac-users
Mac-users please continue with the following commands:
mamba install -y napari-assistant napari-brightness-contrast napari-bleach-correct napari-skimage-regionprops napari-crop napari-pystackreg napari-filament-annotator napari-simpleitk-image-processing napari-PICASSO napari-accelerated-pixel-and-object-classification napari-clusters-plotter napari-feature-classifier napari-laptrack napari-layer-details-display stardist-napari cellpose-napari ocl_icd_wrapper_apple ipykernel
Wait until all packages are installed. This can take a few minutes.
PC-users
PC-users please continue with the following commands
pip install ipykernel napari-simpleitk-image-processing stardist-napari napari-crop napari-pystackreg napari-brightness-contrast cellpose-napari napari-skimage-regionprops napari-assistant napari-annotator napari-PICASSO napari-accelerated-pixel-and-object-classification napari-clusters-plotter napari-feature-classifier napari-layer-details-display napari-laptrack napari-bleach-correct napari-filament-annotator
Wait until all packages are installed. This can take a few minutes.
Troubleshooting
If you receive an error message regarding a specific package, please exclude it from the commands above. For example, if you receive an error message regarding the package laptrack, e.g. due to conflicting packages versions, remove it from the commands above and re-execute it. After the installation of the remaining packages is finished, you can try to install the missing package by executing one of the following commands:
Mac-users:
pip install <MISSING_PACKAGE>
PC-users:
mamba install -y <MISSING_PACKAGE>
If this does not work and you still receive an error message regarding conflicting package versions, you can create a separate Python environment for this package (or all missing packages). To do so, follow the procedure described in step 3 and 4, but reduce the installation commands (mamba install -y .../pip install) to the missing packages. Choose a different name for you separate Python environment, e.g. napari_2 or napari_<MISSING_PACKAGES>.
Removing a Python environment
In case you want to remove the conda environment, e.g., to perform a fresh reinstallation, you can do so by executing the following commands.
First, deactivate the environment if it is currently active:
mamba deactivate
Then, remove the environment:
mamba env remove -n napari
