Switching to a Mastodon-powered comment system
I’ve decided to transition the comment system of this blog to a Mastodon-powered solution. I’ve always been an a huge fan of meaningful interactions and community building, and I believe that this new system will better foster a sense of community and encourage networking among readers.
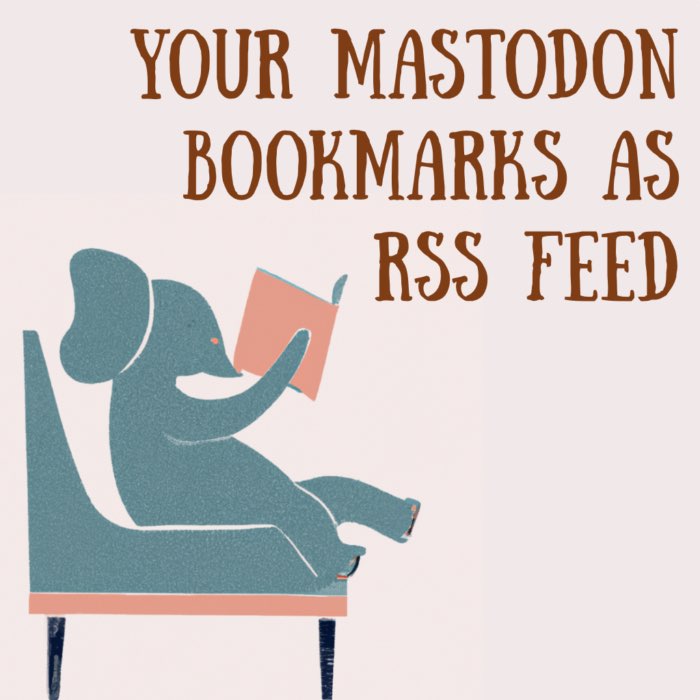
 The cover image for this post was created with DALL·E (Sourceꜛ).
Why Mastodon?
Mastodonꜛ, an open-source and decentralized social network, provides an excellent platform for constructive, and meaningful conversations. Traditional comment systems can sometimes limit the depth and breadth of interactions. By contrast, Mastodon’s nature as a social media network inherently encourages more dynamic communication, facilitating an enriching dialogue among like-minded people. And given the fact that anyone can join the network and log in from both desktop and mobile devices, it will also be much easier to engage with the blog and its content.
And there are further invaluable benefits for the readers. Since Mastodon prioritizes user privacy and control, the users have more control over their posts and interactions. User data isn’t shared with third parties, and users have full control over their data, including the ability to export and delete it at any time. Traditional comment systems often fall short in this. Furthermore, users don’t have to create a new account on another external platform just to post a comment on the blog, provided they already have a Mastodon account. I believe the less friction there is, the more likely people are to engage.
How to use the new comment system
To engage with the new system, you will need a Mastodon account. The setup processꜛ is straightforward, and you can join any public server aka Mastodon-community or even start your own. I have created a list of useful links to help you get started.
The new comment system will work as follows. Each blog post will be associated to a corresponding post on my Mastodon account. To comment on the blog post, you simply reply to the corresponding Mastodon post. The link to the Mastodon post will be displayed at the bottom of each blog post. Your reply will then appear both as a comment below the blog post and in your Mastodon feed, further extending your reach and connectivity.
On Mastodon, you will have the option to edit your post afterwards or even delete it. You will also receive a notification when someone replies to your comment. This way, you can stay up to date with the latest posts and discussions.
How it works
I actually took inspiration from the blogs of Carl Schwanꜛ, Julian Fietkauꜛ, David Revoyꜛ, and Cassidy James Blaedeꜛ, each of whom developed their own individual solution for including Mastodon comments on their static website. Each solution provides a slightly different approach to integrate the Mastodon comment system, I encourage you to check them out.
I decided to go for the solution of Cassidy Jamesꜛ. His solution avoids clicking on a button to load the comments, thus further reduces friction for the readers. You can read a full description of his solution on his blogꜛ.
In the following, I describe how I implemented his solution on my static Jekyll website using the Minimal Mistakes theme, just to demonstrate how you could implement it on your own website.
1. Integrate the core code
The core of the integration is a HTML code including liquid and JavaScript commands. You can find the original source of the code in Cassidy James’ GitHub repositoryꜛ. I slightly modified that code to fit my needs. I additionally added the option to check whether a Mastodon post is associated to the blog post and to display a message if no Mastodon post is found. You can find the modified version hereꜛ. I only made some minor changes to the original script, thus it doesn’t matter which version you use. To integrate the code into your Jekyll website using the Minimal Mistakes theme, just place the HTML file into the _includes folder of your Jekyll project.
2. Tell your website to use the new comment system
The folder _layouts contains the layout files for your website. The file single.html is the default layout file for your blog posts. To tell your website to use the new comment system, you have to change or add the following code to that file:
<div class="page__mycomments" id="comments">
    {%if page.comments%}
      <hr>
      {% include mastodon-comments.html url=page.url %}
    {%endif%}
</div>
Change mastodon-comments.html to the name of the HTML file you placed in the _includes folder in the previous step.
Repeat this step for all other layout files you want to use the new comment system with.
3. Add variables to your _config.yml file
The _config.yml file contains all the configuration variables for your website. To use the new comment system, you have to change or add the following variables therein:
comments:
  provider:  false # turn off Minimal Mistakes' default comment system
  # your Mastodon host (the server where you have the Mastodon account):
  host: sigmoid.social
  # vanity domain (optional); host will be used if omitted:
  domain: sigmoid.social
  # your Mastodon username:
  username: pixeltracker
  # API token to fetch more than 60 replies to any given blog post (optional):
  token: XXXXXXXXXXXXXXXXXXXXXXXXXXXXXXXX
  # verified users (optional):
  verified:
   - XY@XY.XY
  # default id (serves as a fallback if no id is specified in front-matter):
  id: 110645586336088202
With the first setting, we turn off the default comment system of the Minimal Mistakes theme by setting provider to false.
host and username are the minimum required variables. host is the server where you have your Mastodon account. username is your Mastodon username. The HTML script will use these variables to fetch the corresponding Mastodon post.
domain is optional and can be used if you have a vanity domain. If you don’t have a vanity domain, just omit this variable.
token is optional and can be used to fetch more than 60 replies to any given blog post. Cassidy James found out that the Mastodon API limits the number of replies to 60. If you want to fetch more than 60 replies, you have to create an application or a bot account with the read:statuses scope. You can find a description of how to do this in the Mastodon documentationꜛ. If you don’t want to fetch more than 60 replies, just omit this variable. The application/bot account-bypass is necessary to avoid giving access to your private statuses to anyone who visits your website. You can read more about this issue in this Mastodon postꜛ by Cassidy James. I have not yet tried this, so I can’t provide any further information on this point.
verified is optional and can be used to add additional verified usernames (e.g. other authors or known friends).
id is optional and serves as a fallback if no id is specified in the YAML front matter of a blog post. This is another addition I made to the original HTML script. How to find the ID of a Mastodon post is described in the next section.
4. Linking your blog posts to the corresponding Mastodon posts
In each blog post for which you want to enable comments, you have to add the following variables to the YAML front matter:
comments:
  id: 110645586336088202
  #host: sigmoid.social
  #user: pixeltracker
id is the ID of the corresponding Mastodon post. You can find the ID in the URL of the Mastodon post. For example, the ID of the Mastodon post
https://sigmoid.social/@pixeltracker/110645586336088202
is 110645586336088202.
You can overwrite the variables host and user previously defined in the _config.yml file for each blog post. This is useful if you want to use a different Mastodon account for a specific blog post or if your blog has more than one author.
5. Styling the comment section
Last but not least, we need to style the new comment section. Cassidy James’ SCSS file is an excellent starting point! You can find the original source in his GitHub repositoryꜛ. I put my slightly modified version hereꜛ. To use the provided SCSS code in your Minimal Mistakes theme, just replace the .comment part in the _sass/minimal-mistakes/_page.scss file with the content of the SCSS file.
And that’s it! Following these five steps, you should be able to integrate the new comment system into your Jekyll website using the Minimal Mistakes theme.
And also a huge thanks to Cassidy James for providing this solution!
Transition period
Since I haven’t posted about all my blog posts on Mastodon in the past, I will add the missing posts in the next couple of weeks. In the transition time, I will temporarily link the comments of blog posts, which do not yet have a linked counterpart in Mastodon, to a dummy post. This way, you can already test the new comment system.
I’m curious about your feedback. You can try the new comment system already by replying to this post in the comment section below. Feel free to share your thoughts and suggestions.


comments