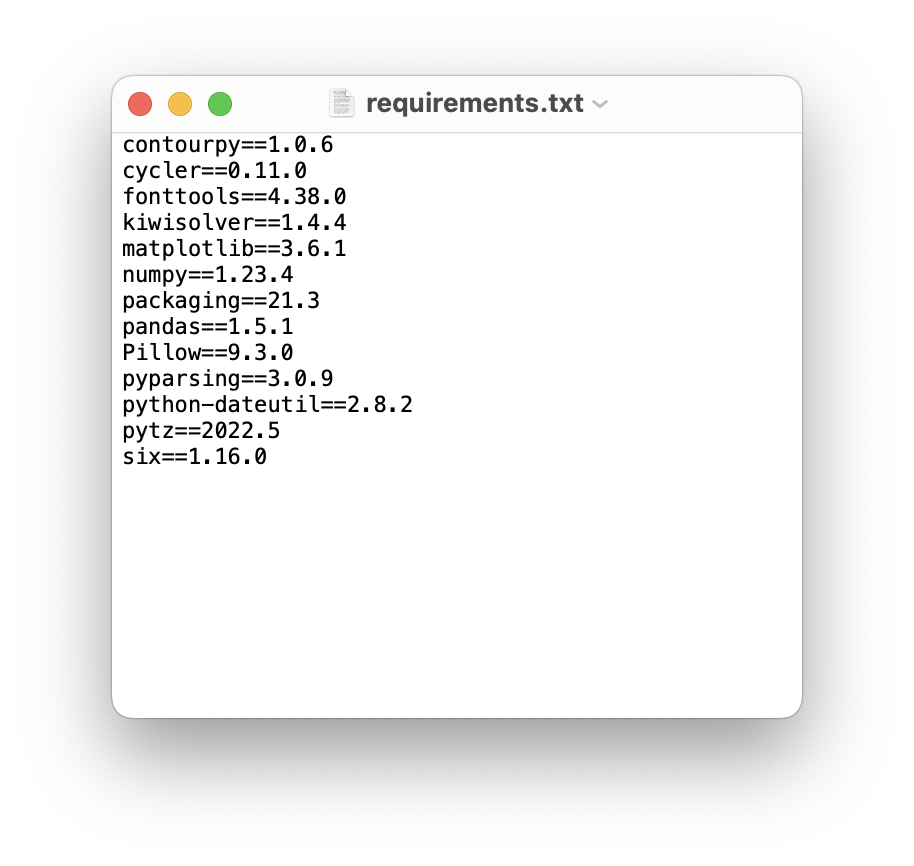
How to create and apply a requirements.txt file in Python
When you install Python packages or scripts from GitHub or other source, you might be confronted with a file called “requirements.txt”. Learn in the post, how to use such files for installing Python packages and setting up virtual environments. Also learn, how to create a “requirements.txt” file yourself and for which cases this might be useful.

What are requirements.txt files good for?
“requirements.txt” file serve as a configuration file to create Python set-ups with certain dependencies (i.e., additionally required Python packages) in precisely defined versions. This ensures, that a custom Python pipeline or package someone has developed will always run in the same way, i.e., can be reproduced by any other user on any other machine. Without such configuration file, we would have to install all required co-packages for that pipeline on our own and ony by one – and if we have no extra knowledge on the necessary versions of these co-packages, we probably get into trouble to get the package run at all.
I again highly recommend to work with virtual environments and create one with conda or pip for each custom package or pipeline we’d like install on our machine:
conda create -n my_test_venv -y python=3.9
conda activate my_test_venv
or
python -m venv my_test_venv
source my_test_venv/bin/activate
By the way, the name “requirements.txt” is only a common convention, they can have any name.
requirements.txt files with pip
Installing packages specified in a “requirements.txt” file with pip is pretty easy. Simply type:
pip install -r requirements.txt
requirements.txt files with conda
If you’re working in a virtual environment created with conda, you have to install pip first (if it’s not already there),
conda install pip
and then you can install the “requirements.txt” again via
pip install -r requirements.txt
With conda, we have the additional option to combine the command for generating a new virtual environment with the installation of the packages specified in a requirements.txt file:
conda create --name my_test_venv --file requirements.txt
Create your own requirements.txt files
To create our own “requirements.txt” file to, e.g., port and reproduce our project on another machine or another test environment, or to publish a project on GitHub, we have to apply only one line of command by making use of the pip freezeꜛ command:
pip freeze > requirements.txt
and that’s it.
Alternatively, we can use the pipreqsꜛ function. Install pipreqs first,
pip install pipreqs
and then execute:
pipreqs /PATH/TO/PROJECT
Both solutions work in conda generated virtual environments as well. However, conda holds another solution to create a “requirements.txt” via its list command:
conda list --explicit > requirements.txt
conda specific alternative to requirements.txt files
In case you want to have an exact copy of a virtual environment generated with conda on your local machine (e.g., to perform some tests or try out alternative packages dependencies), you can also clone the entire environment via:
conda create --clone my_test_venv --name my_test_venv_clone
However, since virtual environments are rather large, from hundreds of megabytes up to some gigabytes, I would not recommend to share them, e.g., with colleagues or provide them to the public. In such cases, generating a “requirements.txt” file is still the better choice.


comments